Objectives:
- Design and print an object that can't be made through subtractive measures
- Scan and print an object
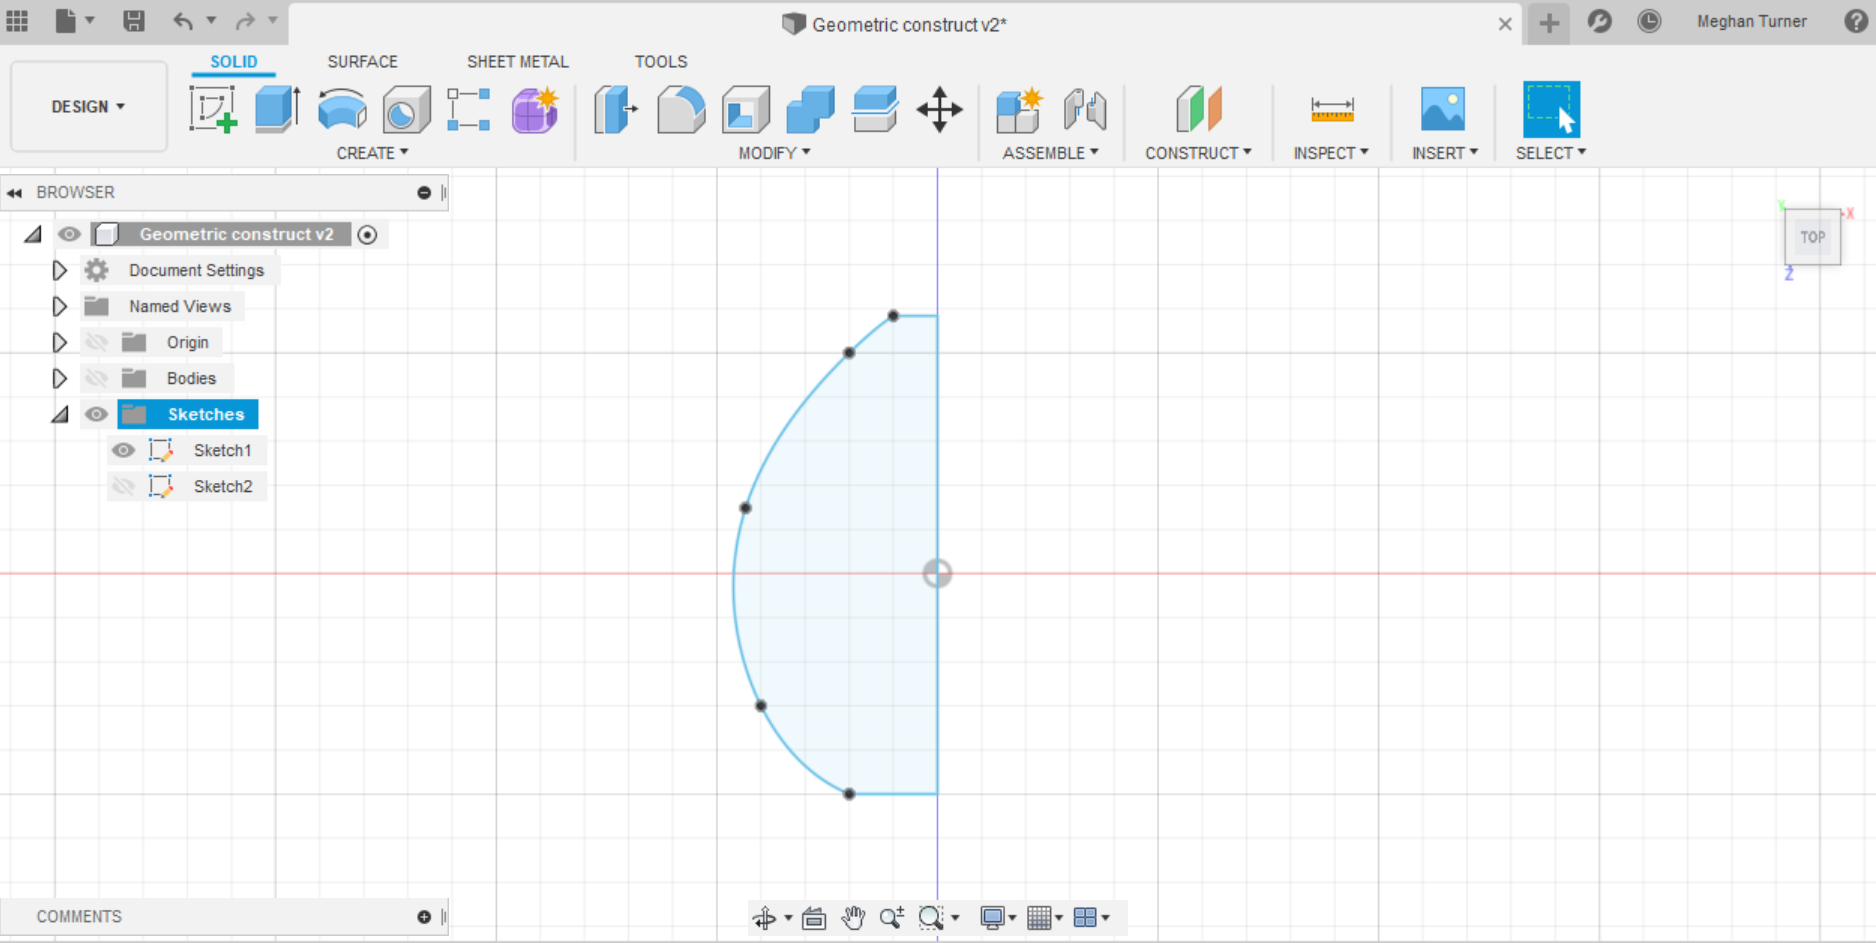
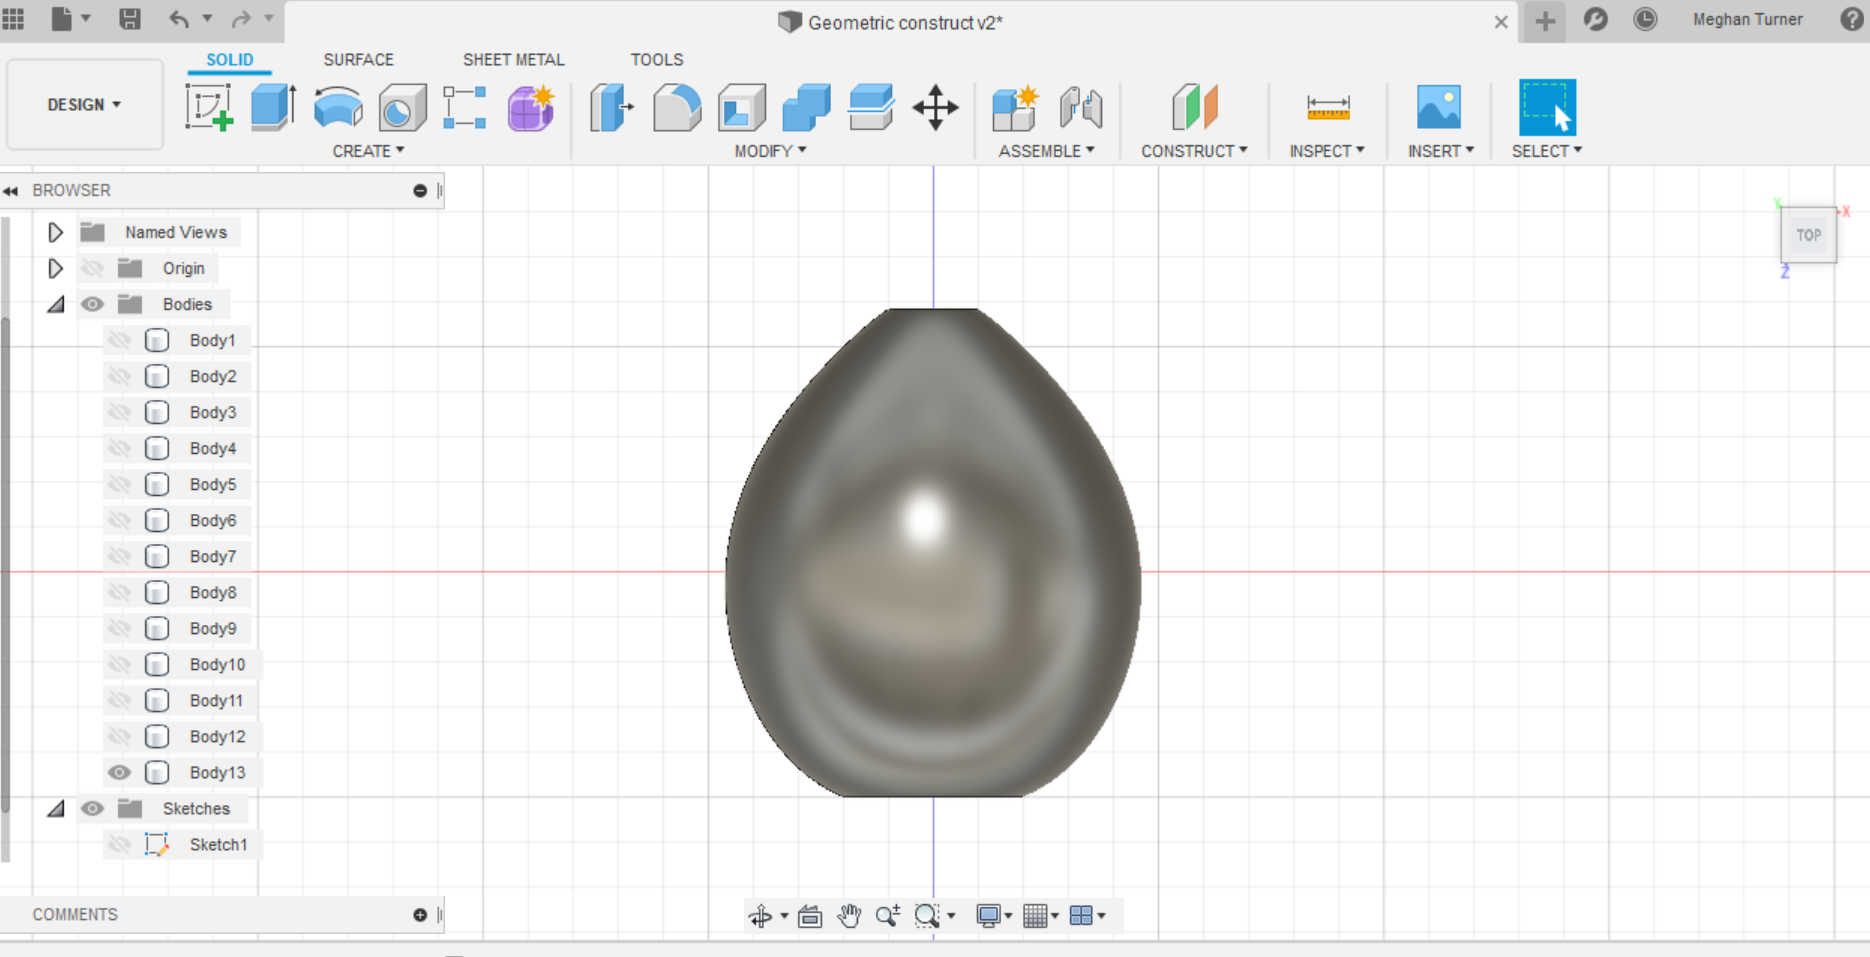
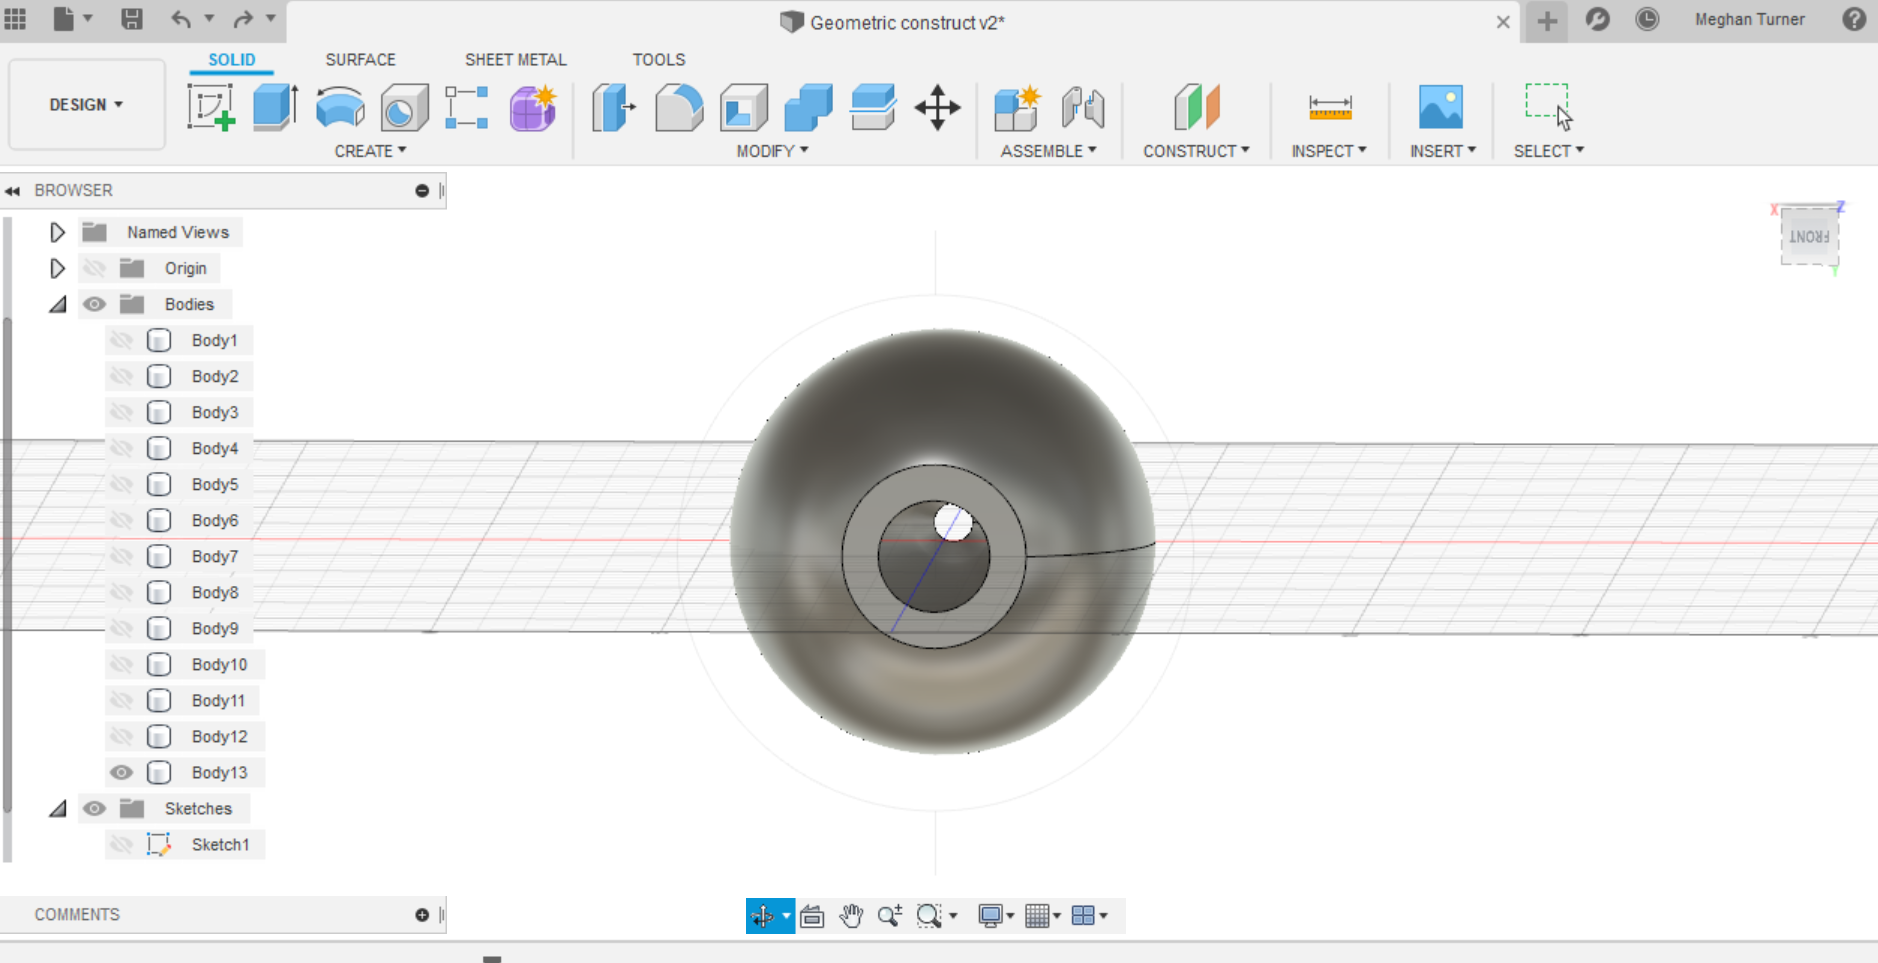
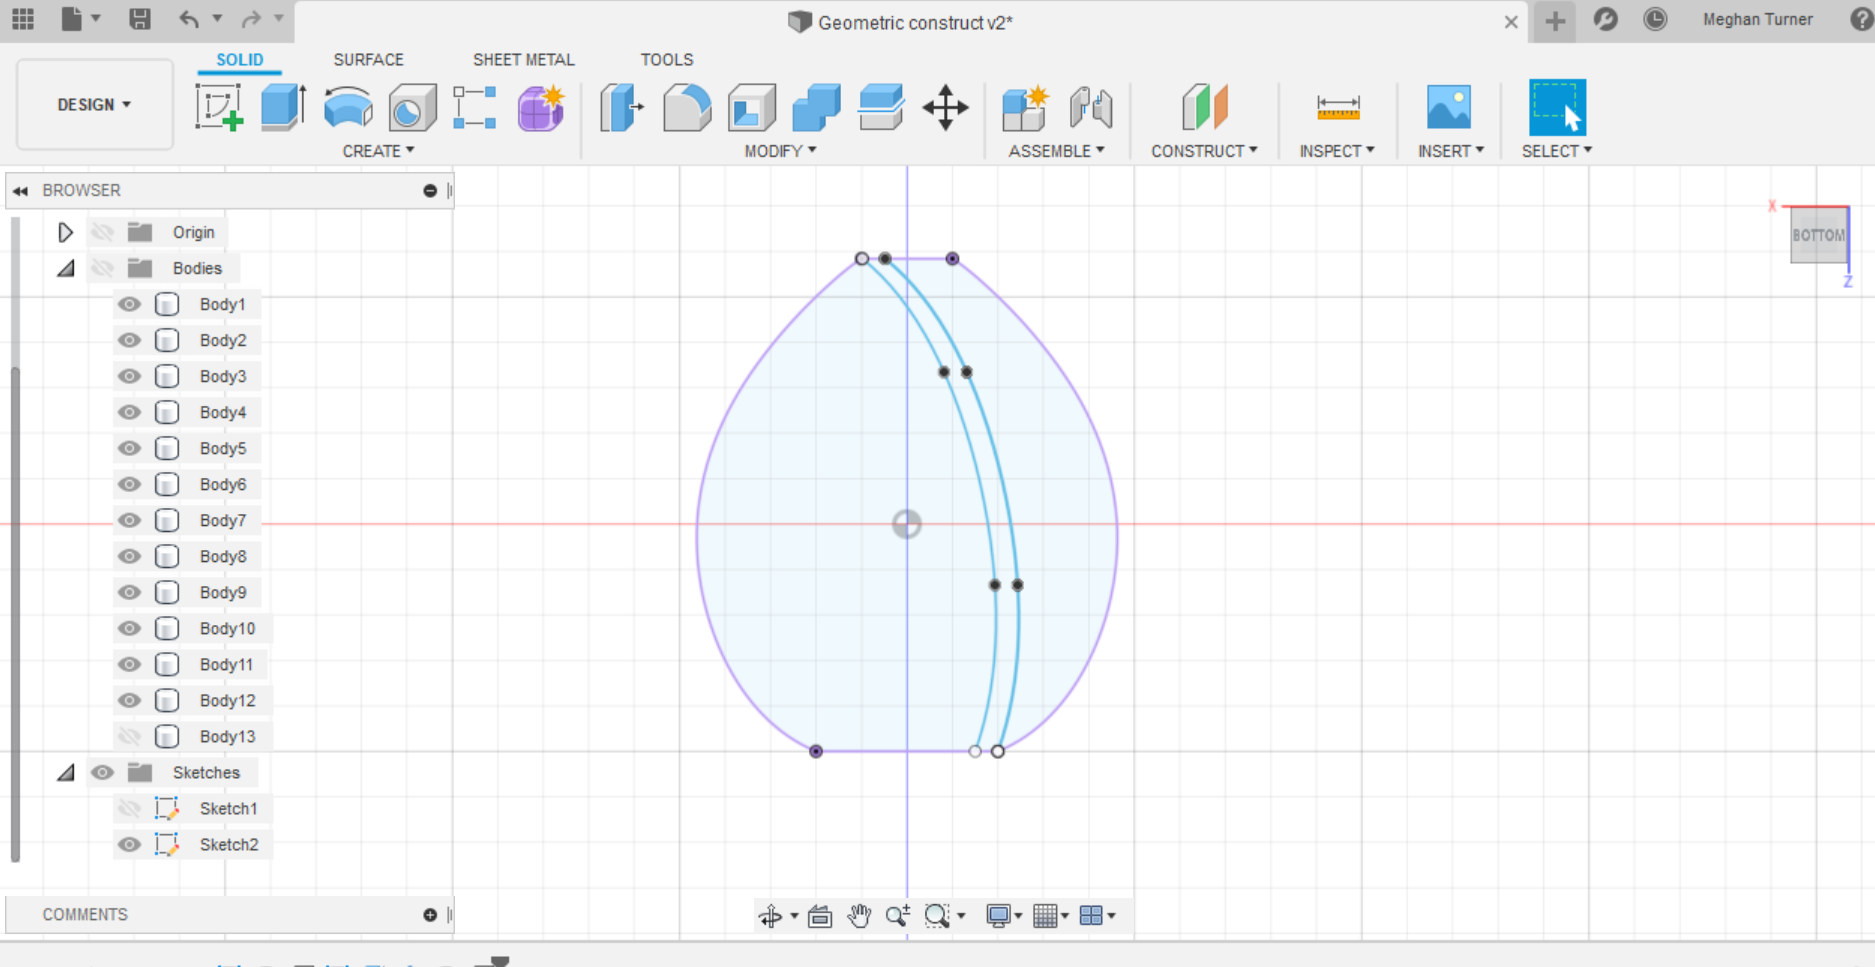
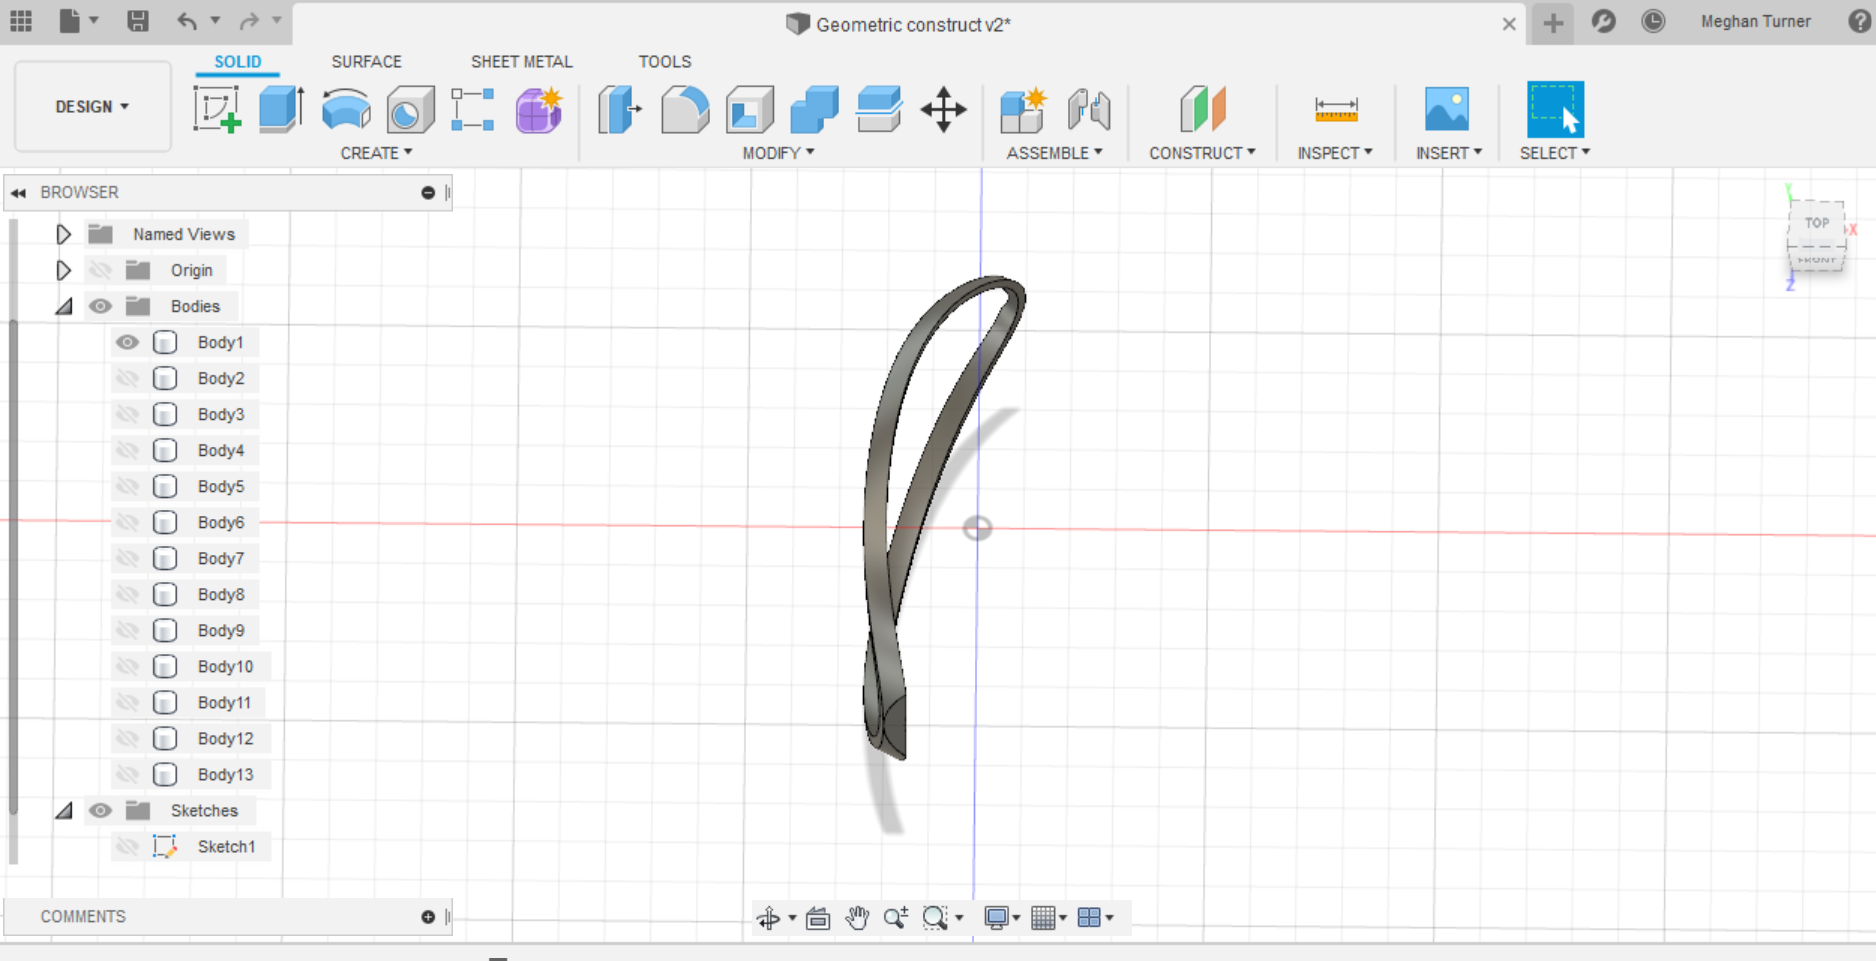
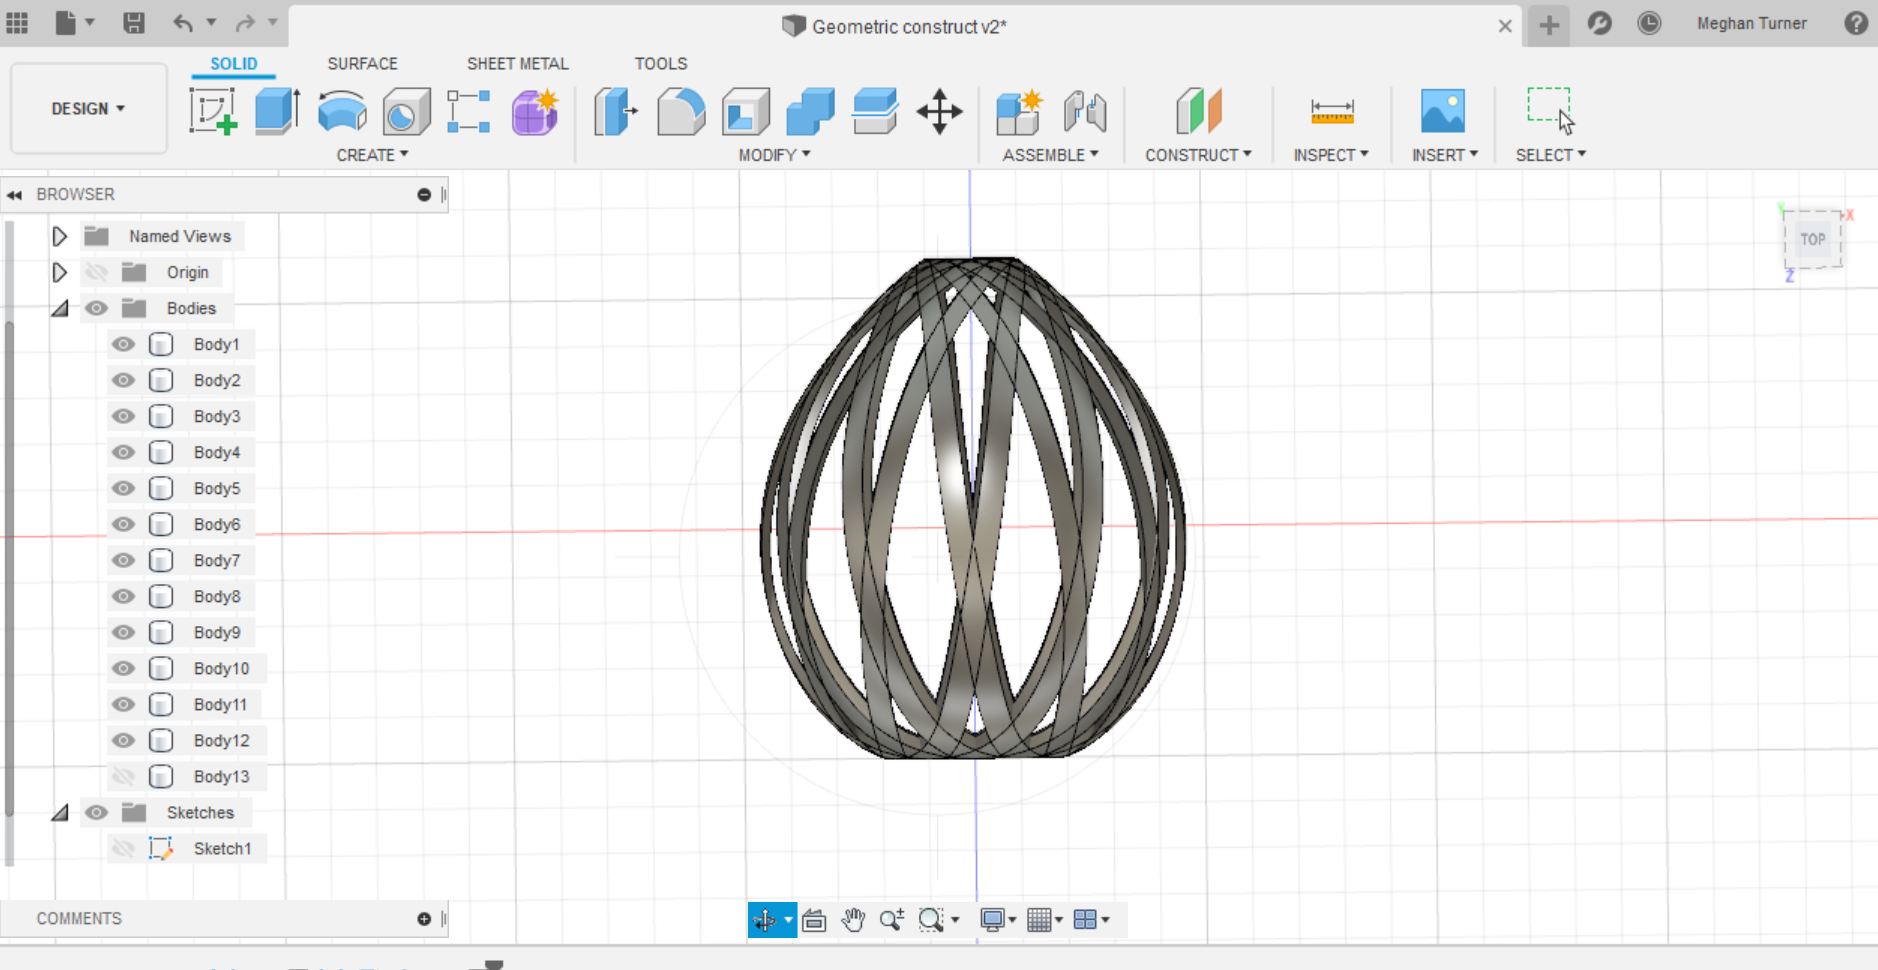
In order for my design to not be easily made with subtractive measures, I wanted to add overhangs to it. I started by following the lampshade tutorial by fusion desk on youtube: Click Here for Tutorial. I created a sketch with the halfway point being an axis and made sure it had a flat top and bottom. I the revolve my sketch to create a 3D body. I used the shell option to hollow out my object. From there I projected the body back onto a plane and drew two curves that connected each face. I then extruded the space between these lines and made it intersect with the main body. Now I was left with two thin strips which I could place in a circular pattern to create my egg like object.
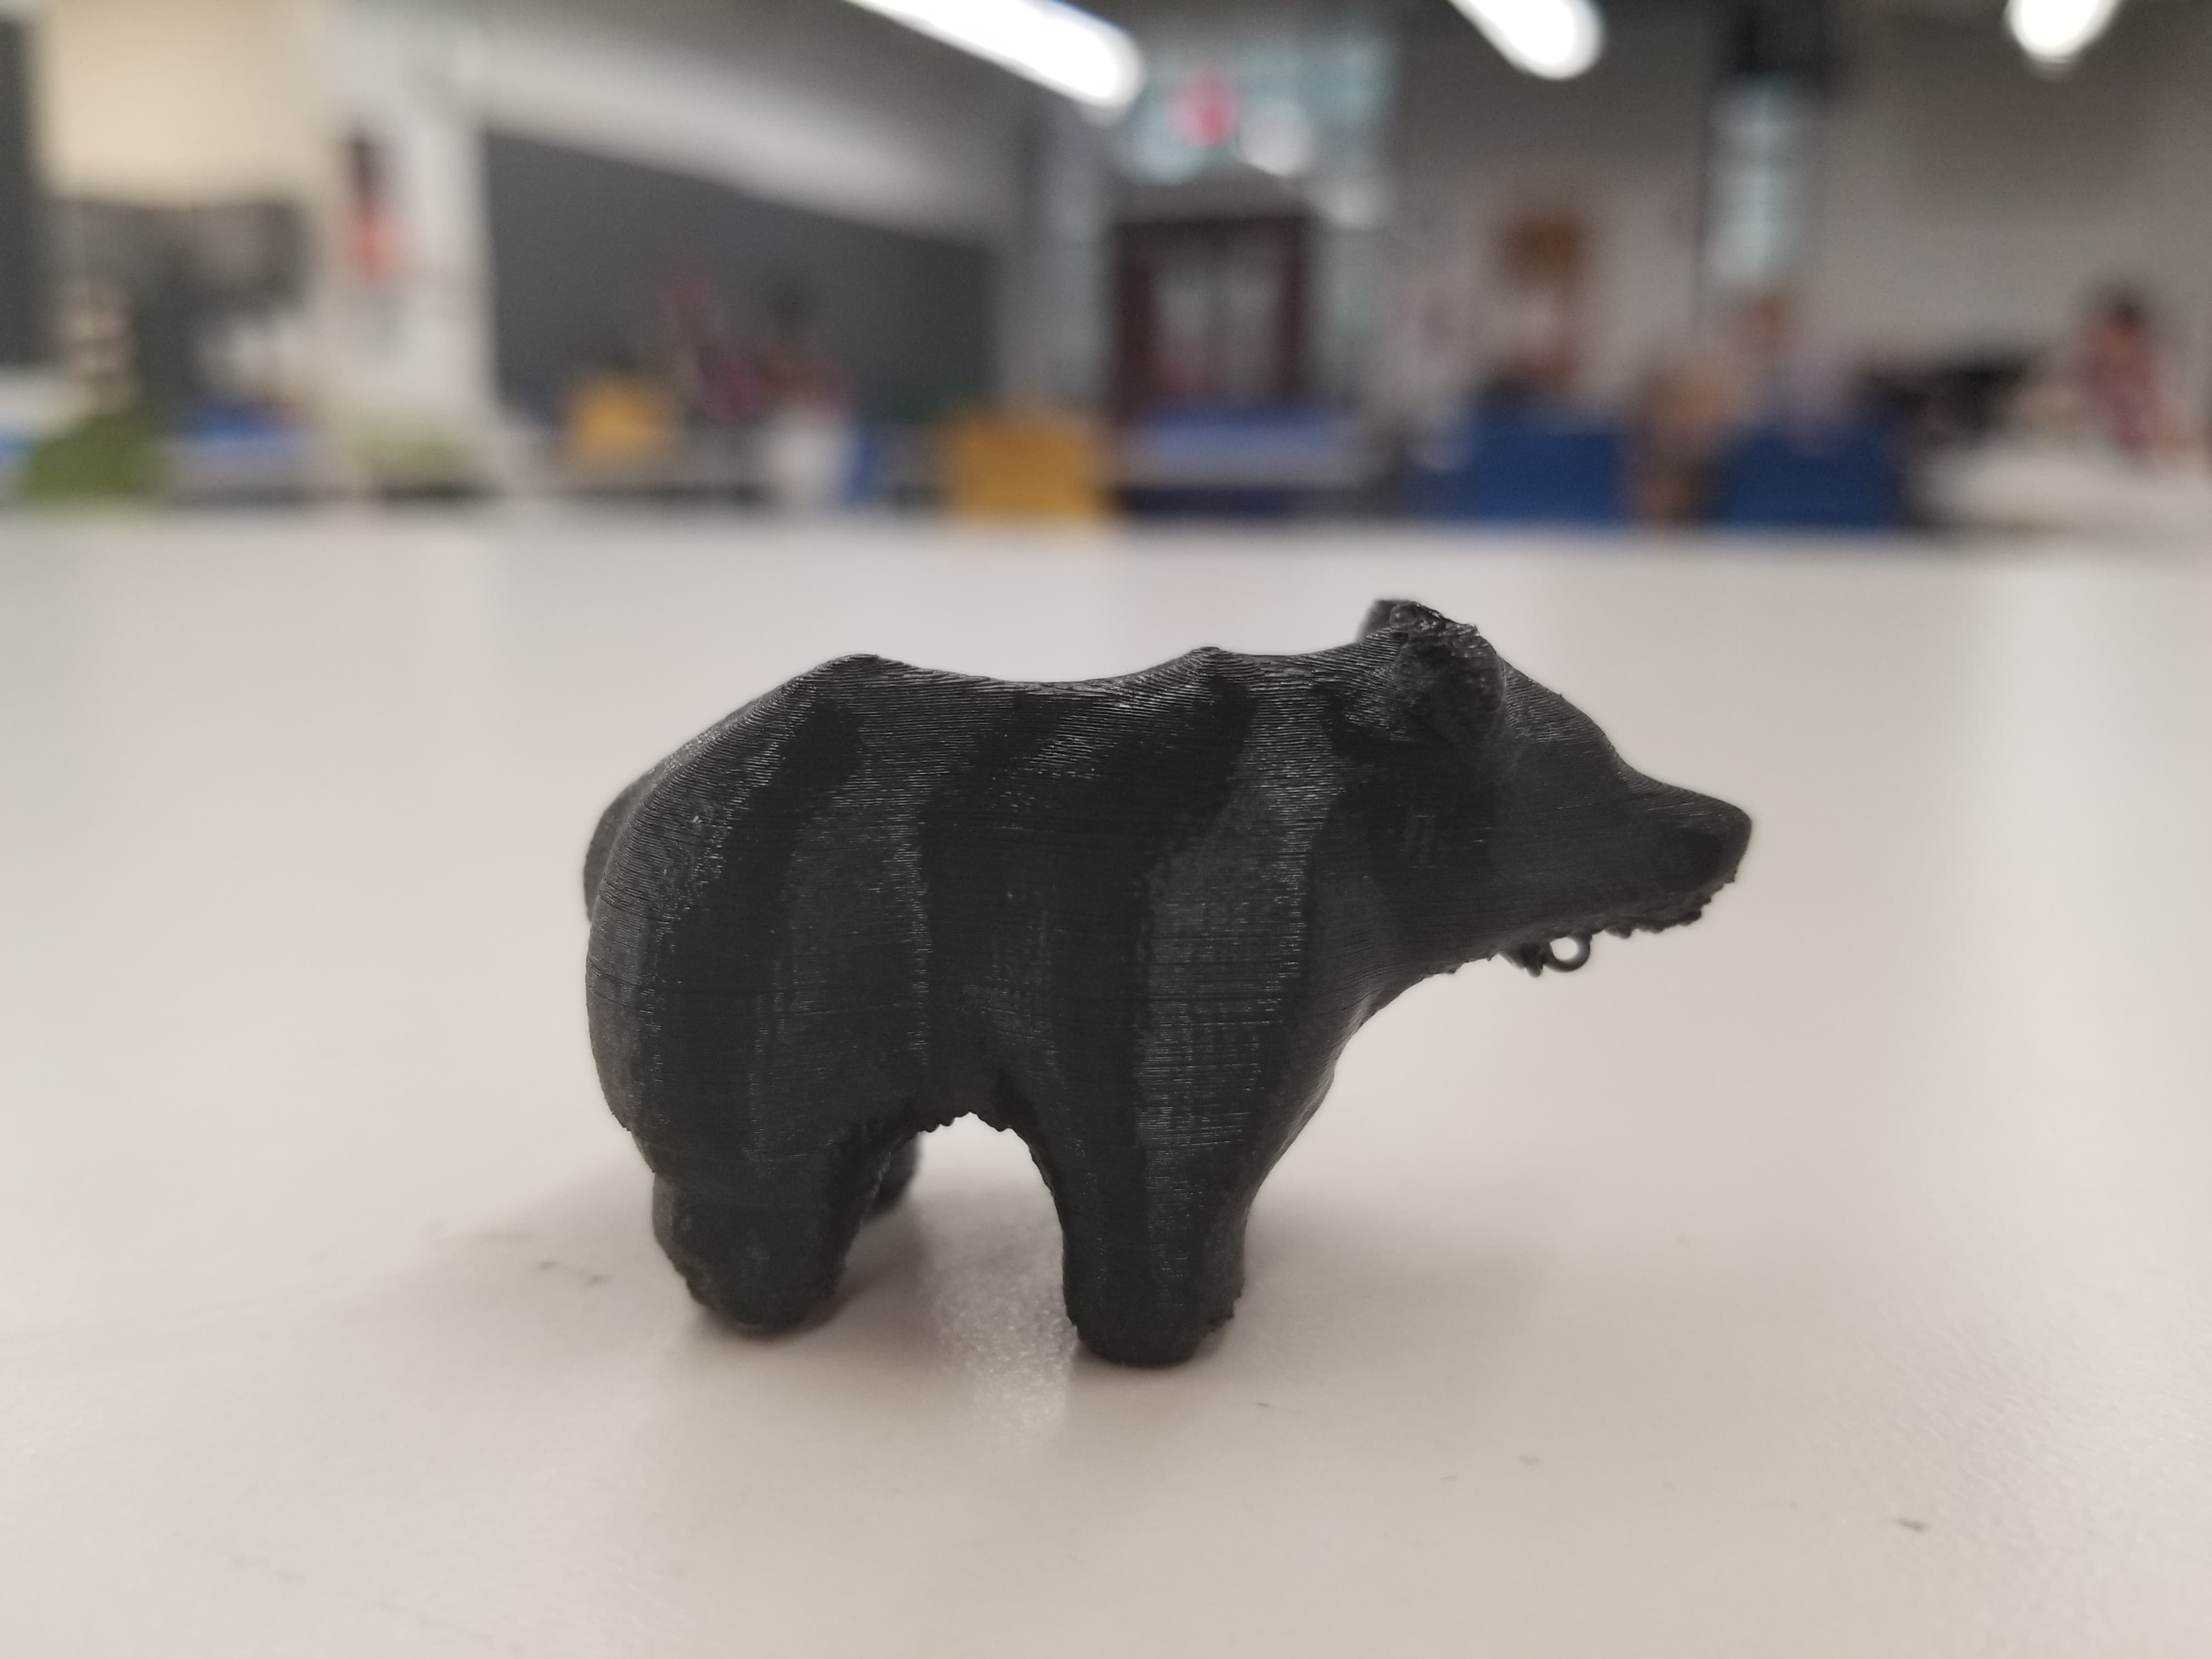
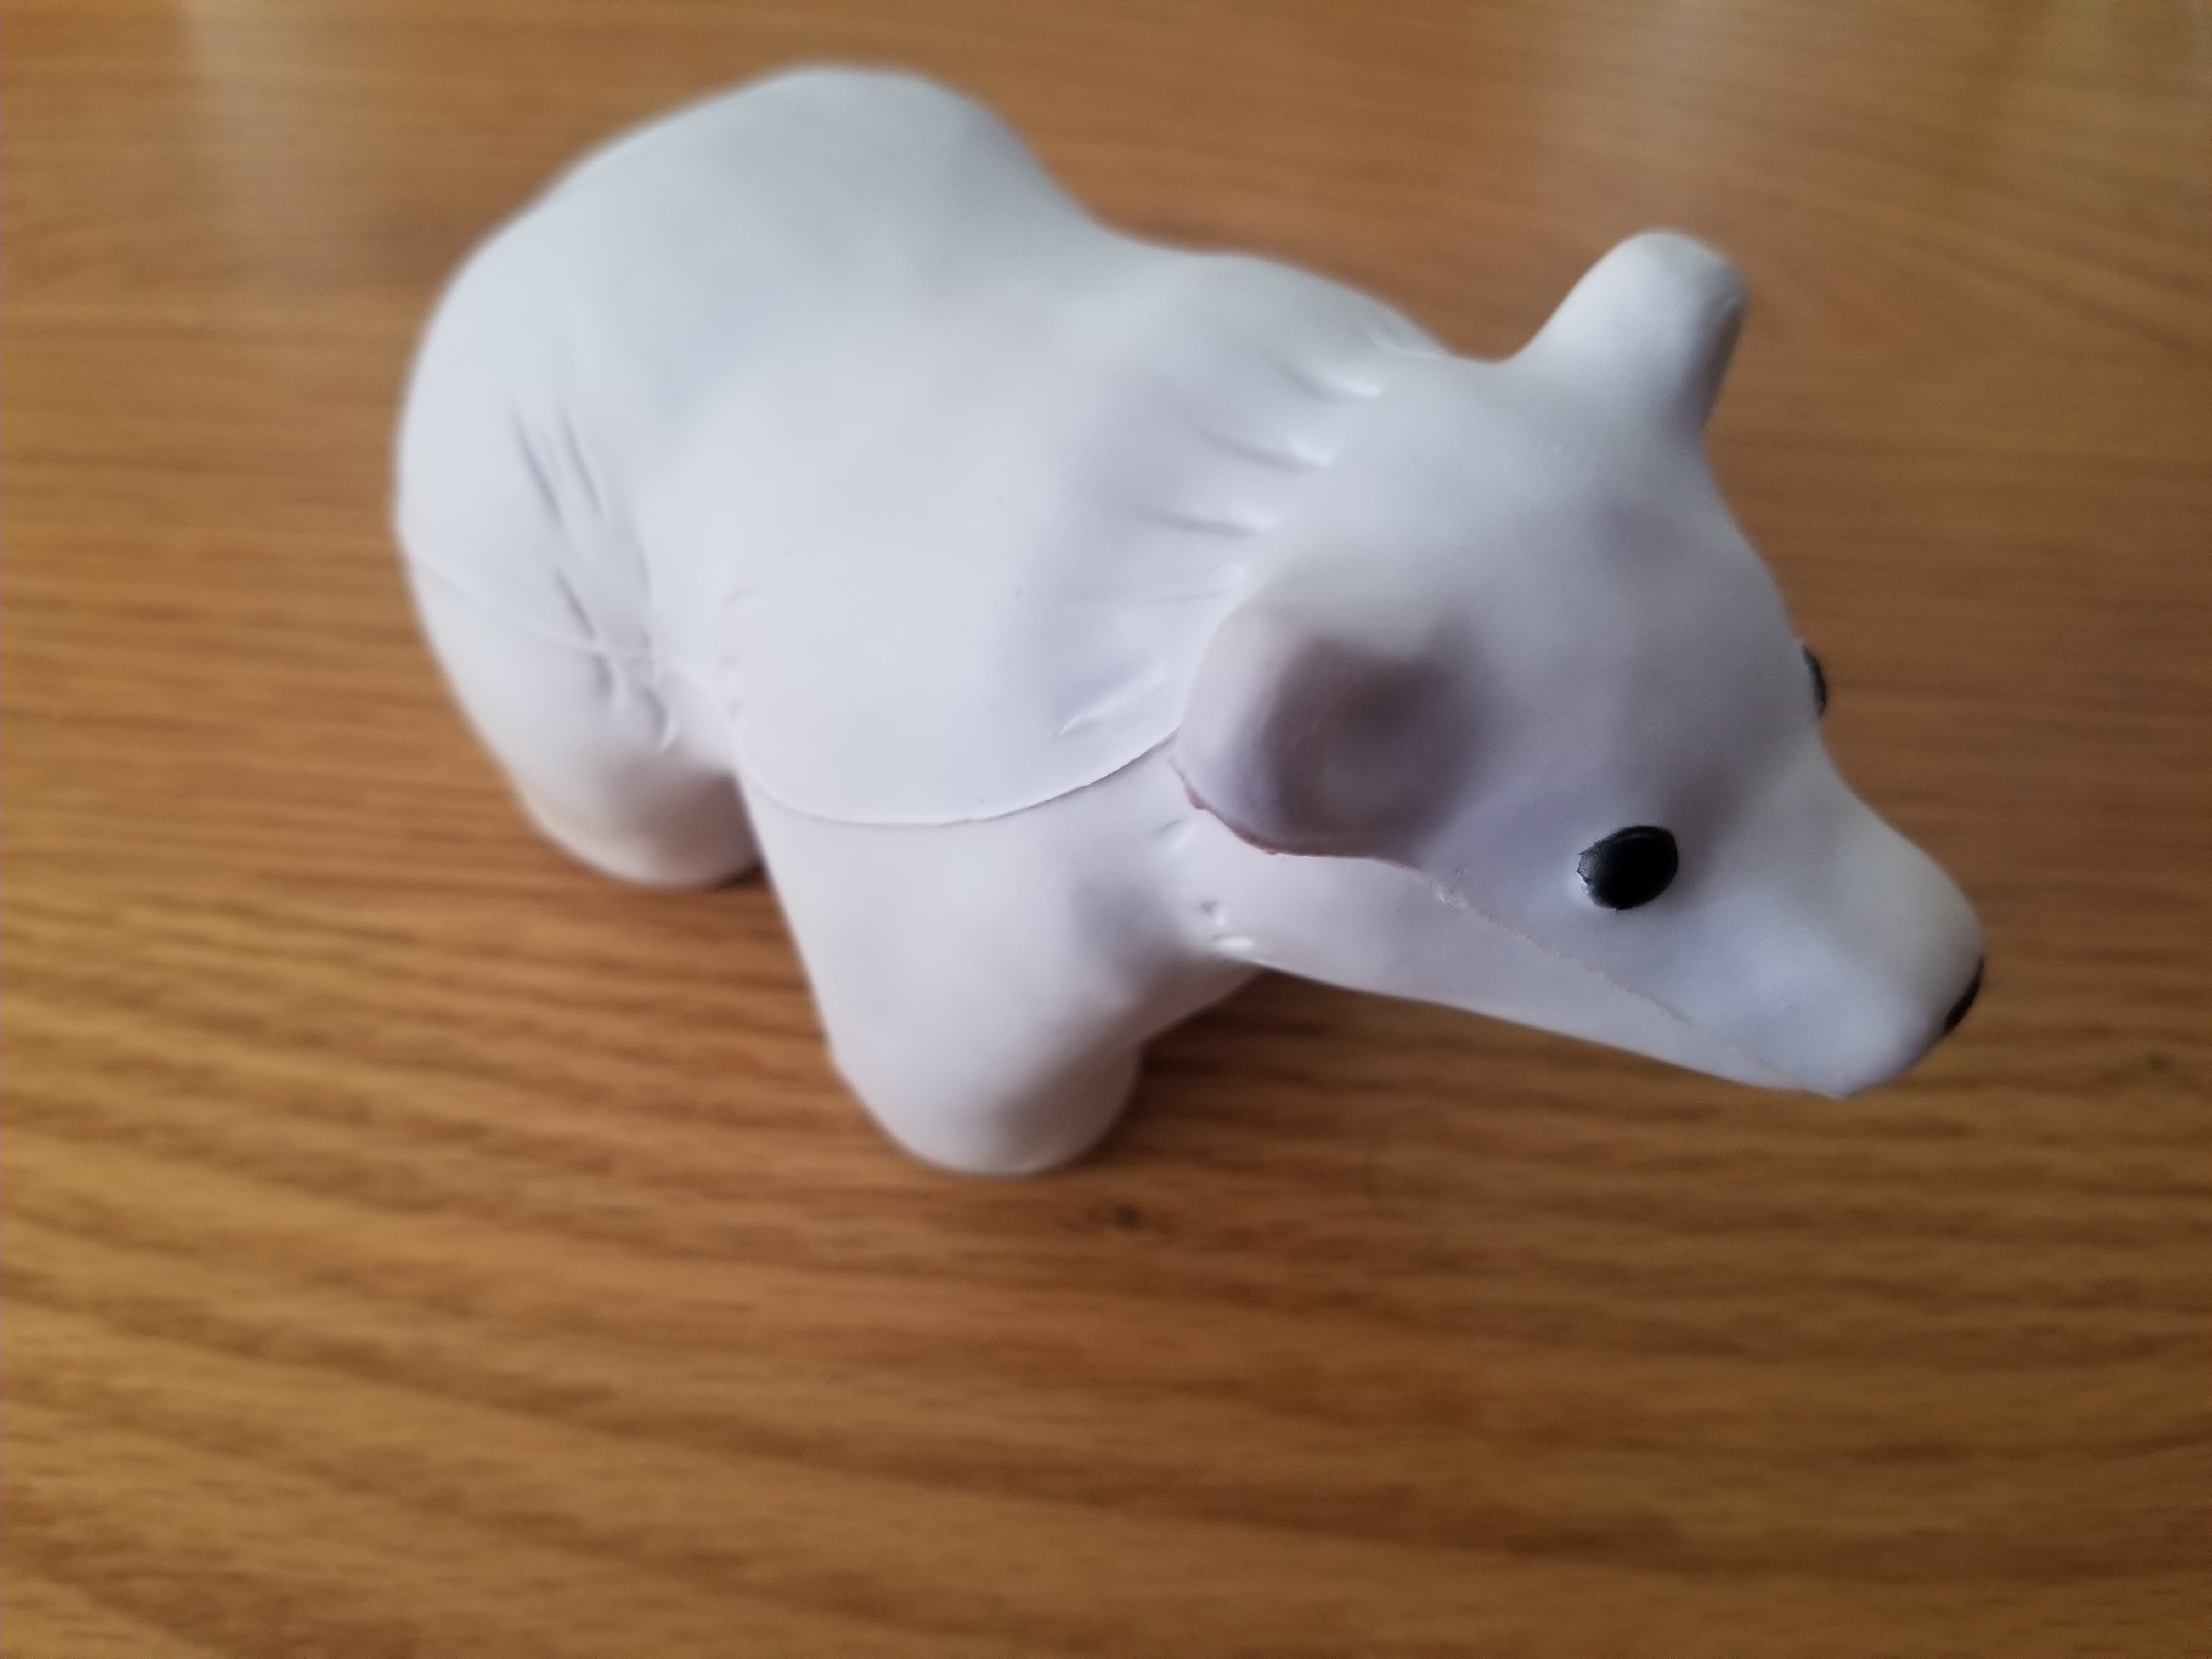
In honor of Polar Bear Day in Pforzheimer House, I wanted to scan my polar bear I got on Housing Day. I used the Sense8 to capture the object and I was actually very happy with how it turned out. After solidifying the gaps that the sensor missed, I ended up with a really good model.
Here is the original object:
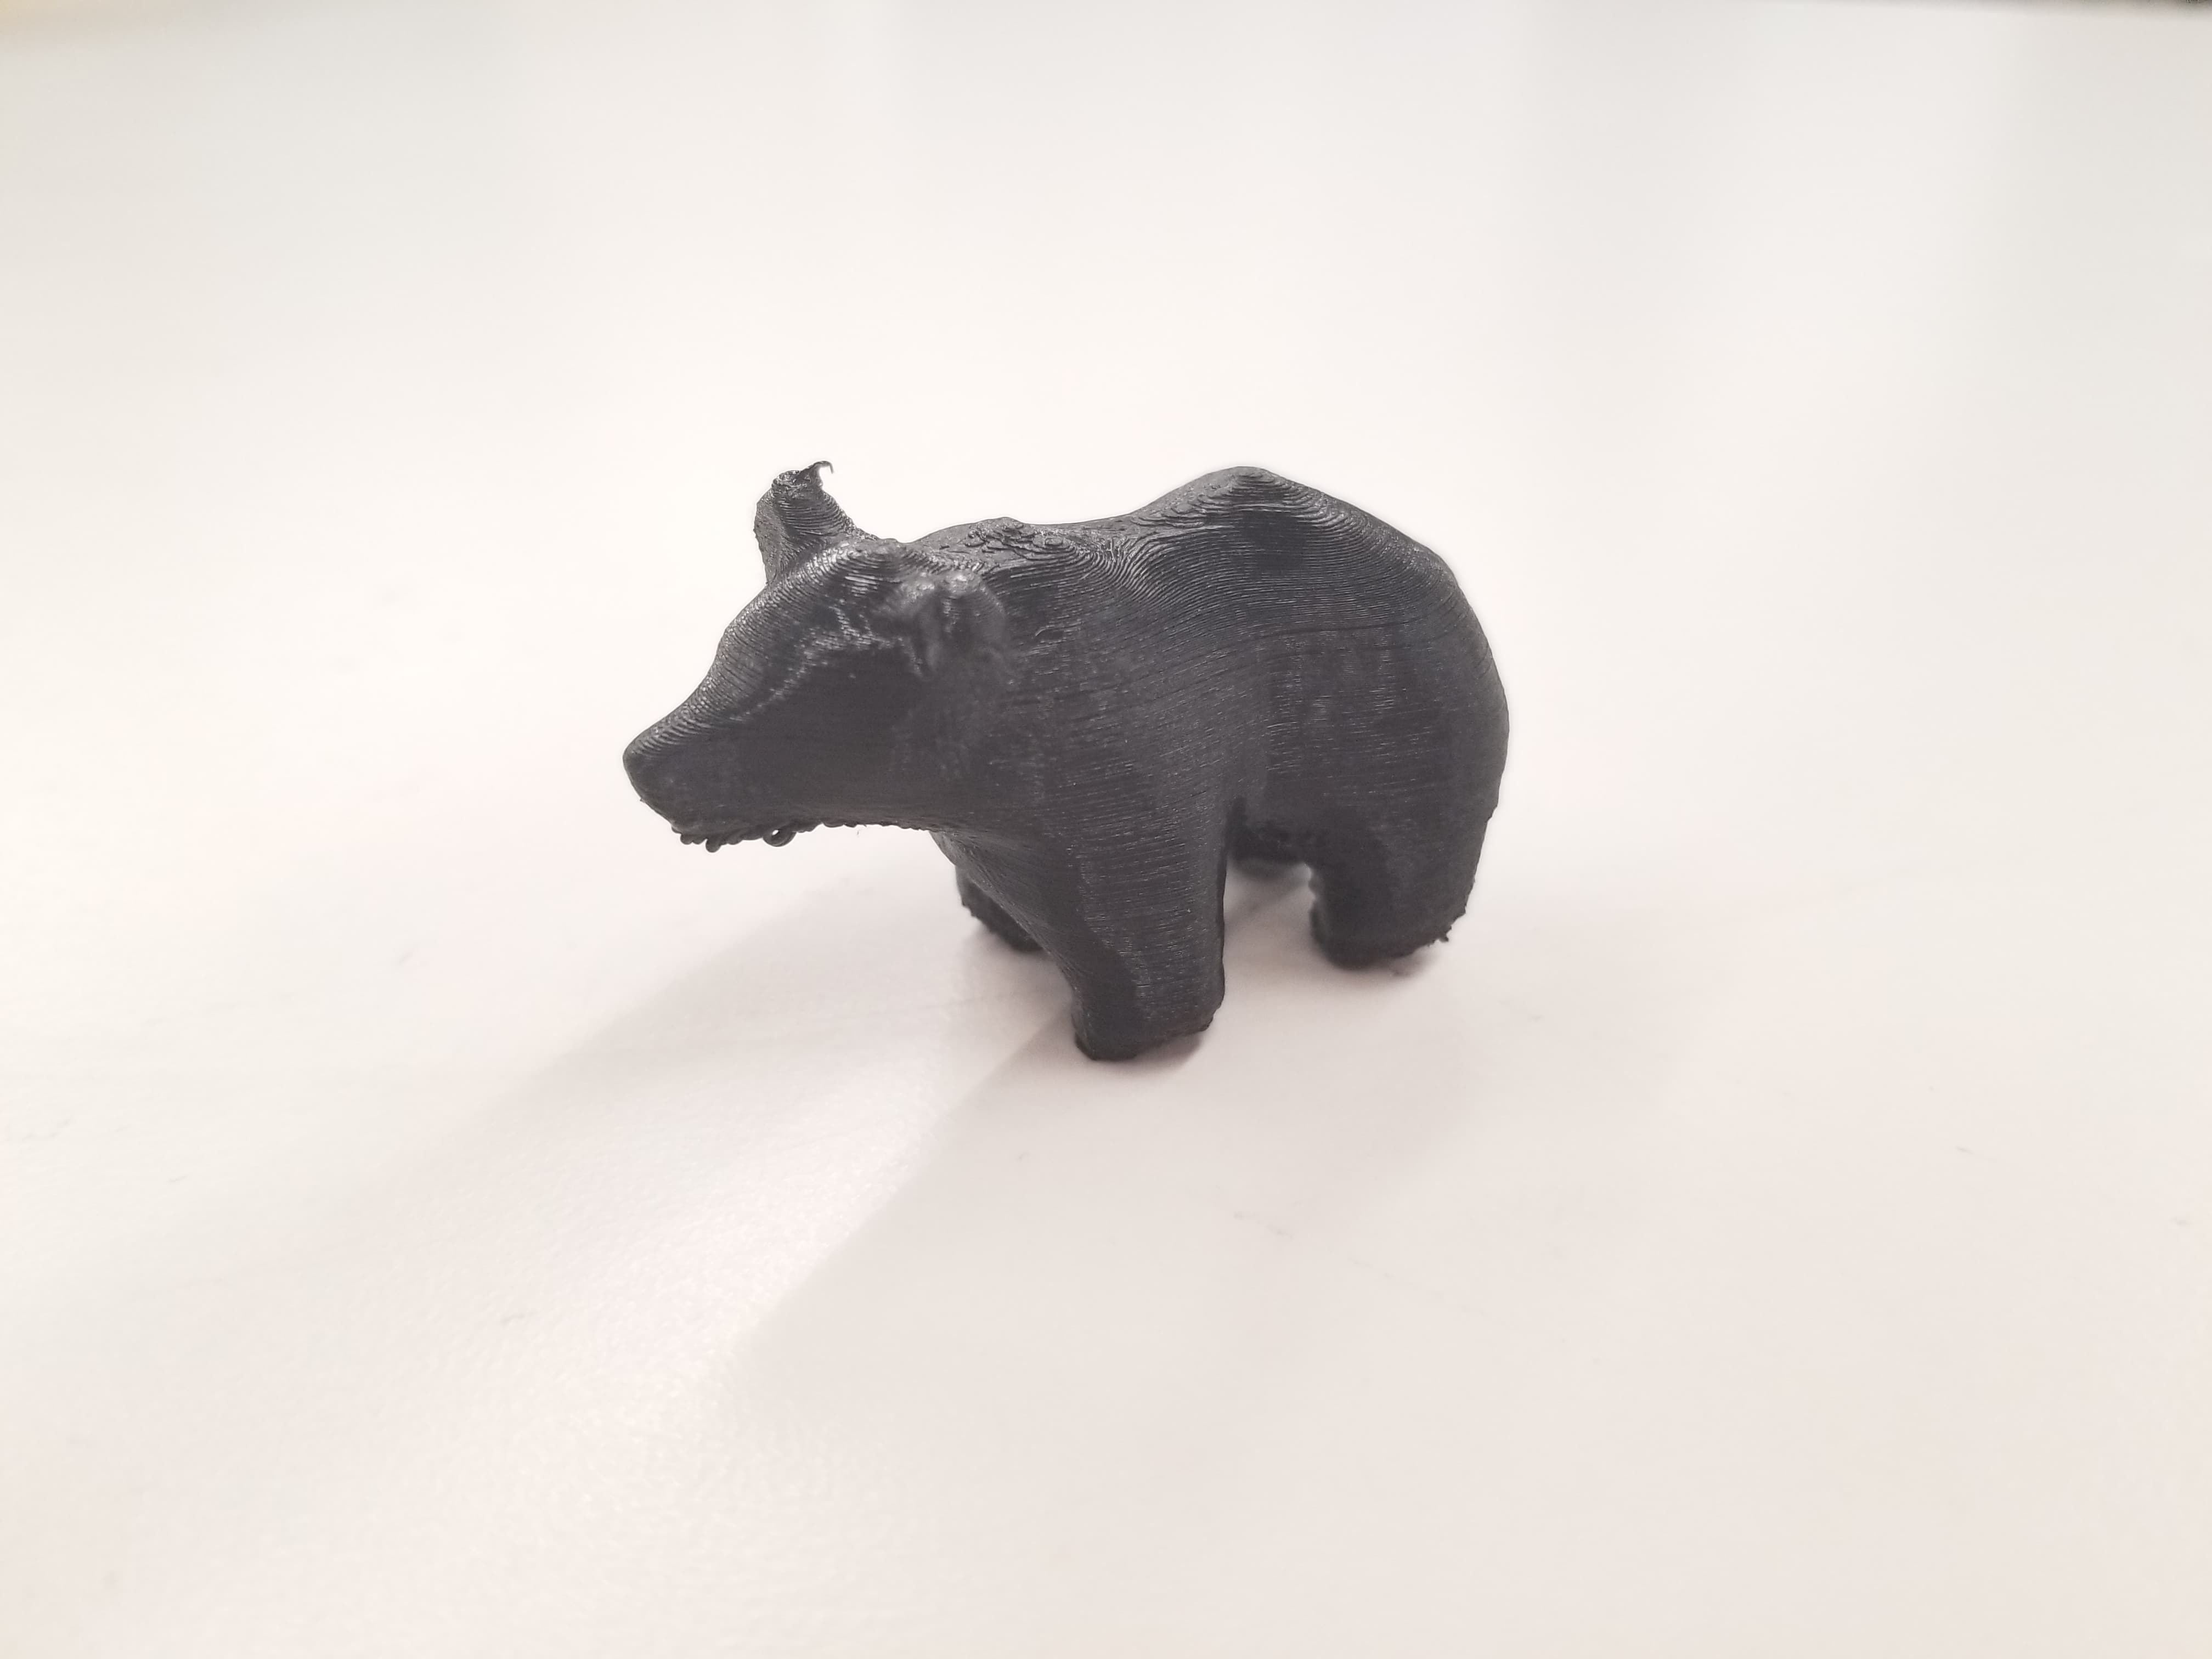
Here is the 3D print: